Create and manage email aliases with MXroute
MXroute Alias Manager lets you create unique email aliases for every website directly from your browser. Stop giving out your real email address—create a dedicated alias for each service and keep your inbox organized.
This is an extension recently made available for the Chrome browser. It lets you create unique email aliases directly from the browser.
For those of you already familiar with MXroute, and have an account, the extension is basically a shortcut for creating forwarders inside the account.
This is quite easy to set up:
1. Install the 'MXroute Alias Manager' from the Chrome Web Store.
2. Log into your MXroute Account.
3. Go to Advanced/API Keys. Complete the 'Server' and 'Username' fields, then click on 'Create API Key'.
4. Most important - COPY the API Key, and SAVE it somewhere safe, ready for the next phase of the set up.
5. Go back to the installed browser extension (ensure that you 'pin' the extension for easy access).
6. Go to the extension settings and complete the various tabs:
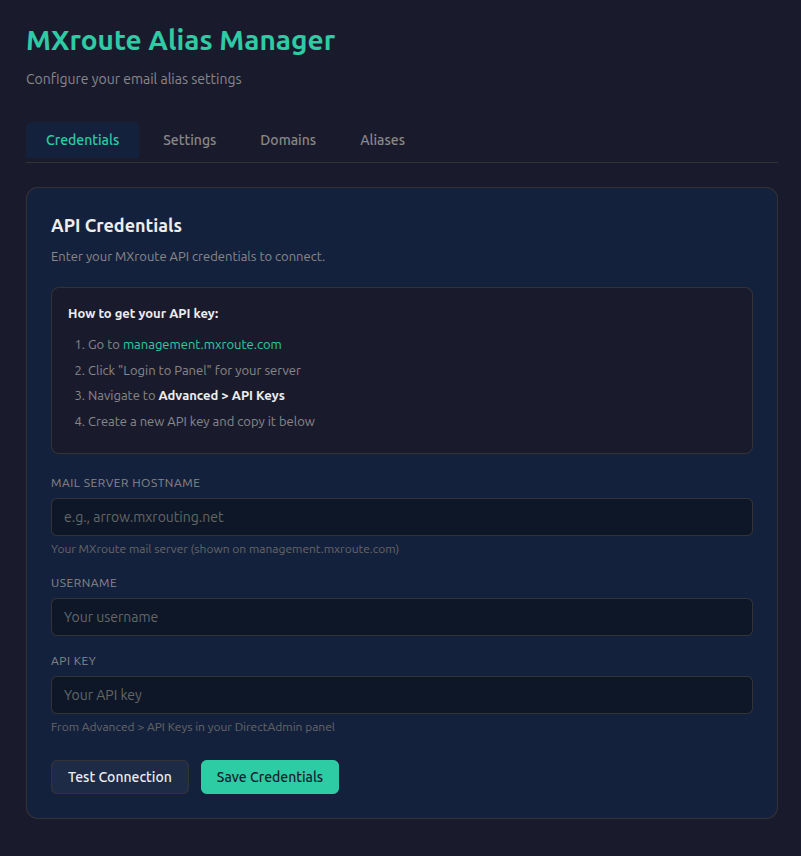
Credentials Tab - Complete the Server, Username, and API KEY fields. Test the connection, and if all is OK, click on 'Save Credentials'.
Settings Tab - Select the default alias format. Choose between Domain Based, Random, and Manual entry. If you have more than one domain, choose the default domain. Click on 'Save Settings'.
Domains Tab - Here you choose the default forwarding destination for your domain.
Aliases Tab: Lists the aliases created in the extension, in addition to any forwarders that have been created in the Admin account. From here, one can also copy or delete aliases.
The aliases created in the extension will also now be added into the admin account, where one can 'fine tune' the forwarder - change the forwarding email address, reject, discard silently, or delete it.
I've set up the extension for creating manual entries, so I may create easier to remember aliases.
The beauty of using this extension is that you don't need to set up your domain as a 'wildcard', thereby setting it up as a primary target for spammers.
That's it - all set up, tested, and working!